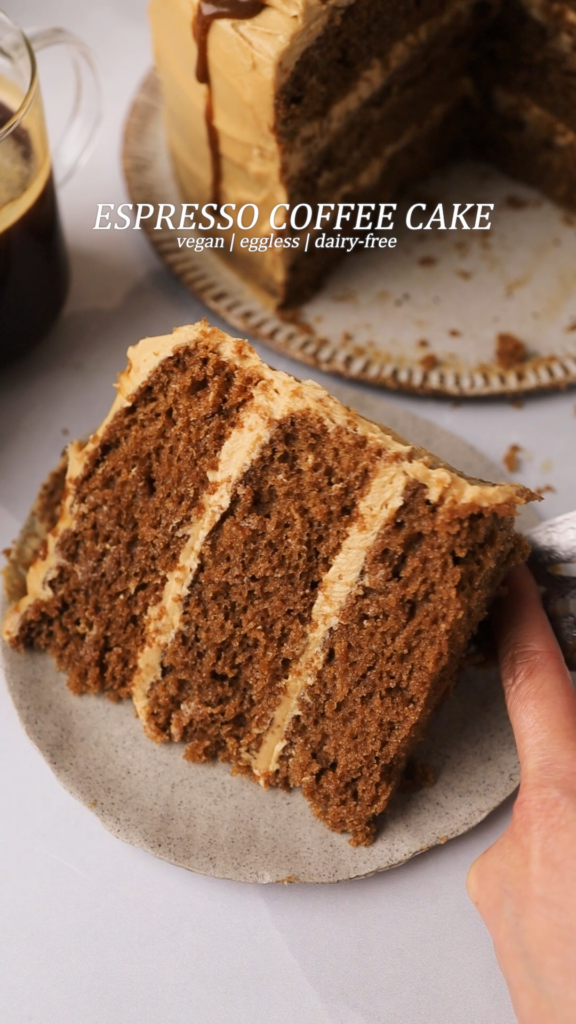
There are some desserts that just feel like a warm hug in cake form, and this espresso cake is one of them. It's the kind of cake that fills your kitchen with the comforting aroma of freshly brewed coffee and chocolate, making everyone gravitate toward the oven.
Advertisements1
I first started making this cake on busy school mornings when I needed a little extra boost (and a treat for after homework). It's become our family's favorite way to celebrate small victories—like a good report card or just surviving the week.
What I love most is how simple it is. You don't need any fancy equipment or hard-to-find ingredients. Just a bowl, a whisk, and a love for coffee. And the best part? It's incredibly forgiving, so even if you're not a seasoned baker, you'll get a beautiful, tender crumb every time.
Why You'll Love This Recipe
About the Ingredients
1 1/2 cups (190g) all-purpose flour
Use good-quality all-purpose flour for the best structure. For a gluten-free version, substitute with a 1:1 gluten-free flour blend.
1 cup (200g) granulated sugar
Regular white sugar works perfectly. You can reduce to 3/4 cup for a less sweet cake, but the texture may be slightly drier.
1/4 cup (25g) unsweetened cocoa powder
Dutch-processed cocoa gives a deeper flavor, but natural cocoa is fine too. If using natural, no need to adjust leavening.
1 tablespoon instant espresso powder
This is the star! Use a good brand like Medaglia d'Oro. If you only have instant coffee, use 1.5 tablespoons for the same intensity.
1 teaspoon baking powder
Ensure it's fresh for proper rise. You can test by adding a little to hot water—it should bubble vigorously.
1/2 teaspoon baking soda
This helps the cake rise and brown nicely. If you're out, you can use 1 teaspoon baking powder instead, but the texture may be slightly denser.
1/2 teaspoon salt
Use fine sea salt or table salt to balance the sweetness and enhance the coffee flavor.
1/2 cup (120ml) buttermilk, at room temperature
Buttermilk adds moisture and tenderness. If you don't have it, make a quick substitute: 1/2 cup milk + 1/2 tablespoon lemon juice, let sit 5 minutes.
1/2 cup (120ml) brewed espresso or strong coffee, cooled
Use freshly brewed espresso for the best flavor. Decaf works too if you're sensitive to caffeine.
1/2 cup (120ml) vegetable oil
Oil keeps the cake moist. You can use melted coconut oil or canola oil instead.
1 large egg, at room temperature
Room temperature egg blends more evenly. If cold, place in warm water for 5 minutes.
1 teaspoon vanilla extract
Pure vanilla extract adds warmth. You can use 1/2 teaspoon vanilla bean paste for a more intense flavor.
Tips & Tricks
Don't overmix the batter
Mix just until the ingredients are combined—overmixing develops gluten and makes the cake tough.
Use room temperature ingredients
Cold buttermilk or egg can seize the batter, resulting in a dense cake. Set them out 30 minutes before baking.
Measure flour correctly
Spoon flour into your measuring cup and level with a knife, or weigh it. Too much flour makes a dry cake.
Pro Tips
Step-by-Step Instructions
1. Preheat and Prep
Preheat your oven to 350°F (175°C). Grease a 9-inch round cake pan and line the bottom with parchment paper. This ensures the cake releases easily.
2. Mix Dry Ingredients
In a large bowl, whisk together the flour, sugar, cocoa powder, espresso powder, baking powder, baking soda, and salt. This distributes the leaveners evenly.
3. Combine Wet Ingredients
In a separate bowl or large measuring cup, whisk together the buttermilk, brewed coffee, oil, egg, and vanilla extract until well combined.
4. Form the Batter
Pour the wet ingredients into the dry ingredients and gently whisk until just combined. The batter will be thin—that's normal. Do not overmix.
5. Bake the Cake
Pour the batter into the prepared pan and bake for 35-40 minutes, or until a toothpick inserted in the center comes out with a few moist crumbs. The top should spring back when lightly touched.
6. Cool the Cake
Let the cake cool in the pan on a wire rack for 15 minutes, then invert onto the rack to cool completely. This prevents sticking and allows even cooling.
7. Make the Glaze
While the cake cools, whisk together 1 cup powdered sugar, 2 tablespoons brewed coffee, and 1 tablespoon melted butter until smooth. Adjust consistency with more coffee or sugar if needed.
8. Glaze and Serve
Once the cake is completely cool, drizzle the glaze over the top, letting it drip down the sides. Slice and serve. Enjoy!
Delicious Variations
Mocha Chocolate Chip
Fold in 1/2 cup semisweet chocolate chips before baking for extra indulgence.
Espresso Walnut
Add 1/2 cup toasted, chopped walnuts to the batter for a nutty crunch.
Spiced Espresso
Add 1/2 teaspoon ground cinnamon and a pinch of cardamom to the dry ingredients for a warm, aromatic twist.
How to Store Espresso Cake
Refrigerator
Store in an airtight container in the refrigerator for up to 5 days. Bring to room temperature before serving.
Freezer
Wrap the cooled, unglazed cake tightly in plastic wrap and foil, then freeze for up to 3 months. Thaw overnight in the fridge.
Reheating
To refresh, microwave a slice for 10-15 seconds or warm in a 300°F (150°C) oven for 5-7 minutes.
Frequently Asked Questions
Q: Can I make this espresso cake without espresso powder?
Yes, you can substitute with 1.5 tablespoons of instant coffee granules dissolved in the hot coffee. The flavor will be slightly less intense but still delicious.
Q: Can I make this cake dairy-free?
Absolutely. Use a dairy-free buttermilk (mix 1/2 cup non-dairy milk with 1/2 tablespoon lemon juice) and replace the butter in the glaze with coconut oil or vegan butter.
Q: Why did my cake sink in the middle?
A sinking center usually means the cake was underbaked or the oven door was opened too early. Make sure your oven is calibrated and avoid opening the door during the first 30 minutes of baking.
Q: Can I bake this in a loaf pan or cupcakes?
Yes. For a loaf pan, bake for 50-60 minutes. For cupcakes, bake for 18-22 minutes. Adjust the time and check for doneness with a toothpick.
Q: How can I make this cake more moist?
Ensure you don't overbake. You can also add 1/4 cup of sour cream or Greek yogurt to the batter, and reduce the coffee by 2 tablespoons to compensate.
I hope this espresso cake brings a little warmth and joy to your kitchen. Whether you're baking for a special occasion or just because, remember to savor the process and enjoy every bite. Happy baking!
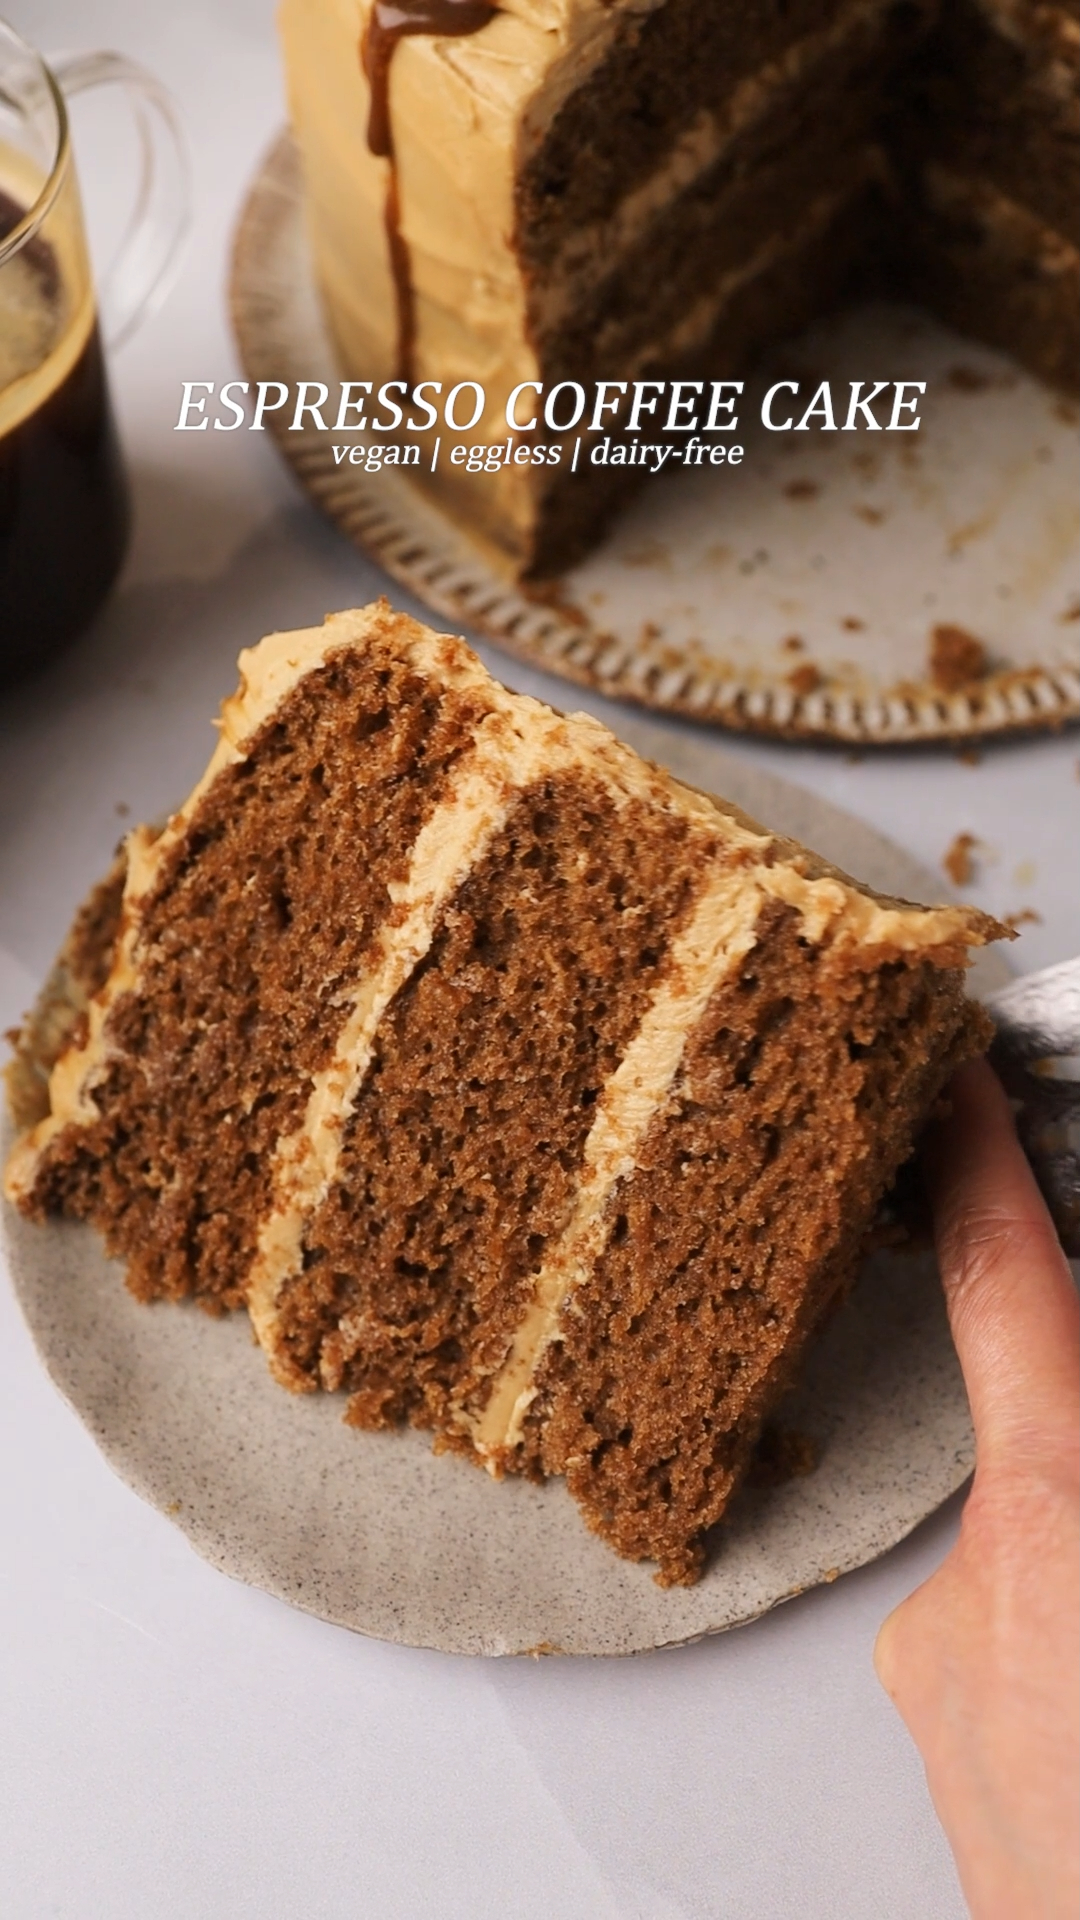
Espresso Cake
This moist, rich espresso cake is the perfect pick-me-up for coffee lovers—easy to make and irresistibly delicious.
🧂 Ingredients
- 1 1/2 cups (190g) all-purpose flour
- 1 cup (200g) granulated sugar
- 1/4 cup (25g) unsweetened cocoa powder
- 1 tablespoon instant espresso powder
- 1 teaspoon baking powder
- 1/2 teaspoon baking soda
- 1/2 teaspoon salt
- 1/2 cup (120ml) buttermilk, at room temperature
- 1/2 cup (120ml) brewed espresso or strong coffee, cooled
- 1/2 cup (120ml) vegetable oil
- 1 large egg, at room temperature
- 1 teaspoon vanilla extract
📋 Instructions
- 1Preheat and Prep — Preheat your oven to 350°F (175°C). Grease a 9-inch round cake pan and line the bottom with parchment paper. This ensures the cake releases easily.
- 2Mix Dry Ingredients — In a large bowl, whisk together the flour, sugar, cocoa powder, espresso powder, baking powder, baking soda, and salt. This distributes the leaveners evenly.
- 3Combine Wet Ingredients — In a separate bowl or large measuring cup, whisk together the buttermilk, brewed coffee, oil, egg, and vanilla extract until well combined.
- 4Form the Batter — Pour the wet ingredients into the dry ingredients and gently whisk until just combined. The batter will be thin—that's normal. Do not overmix.
- 5Bake the Cake — Pour the batter into the prepared pan and bake for 35-40 minutes, or until a toothpick inserted in the center comes out with a few moist crumbs. The top should spring back when lightly touched.
- 6Cool the Cake — Let the cake cool in the pan on a wire rack for 15 minutes, then invert onto the rack to cool completely. This prevents sticking and allows even cooling.
- 7Make the Glaze — While the cake cools, whisk together 1 cup powdered sugar, 2 tablespoons brewed coffee, and 1 tablespoon melted butter until smooth. Adjust consistency with more coffee or sugar if needed.
- 8Glaze and Serve — Once the cake is completely cool, drizzle the glaze over the top, letting it drip down the sides. Slice and serve. Enjoy!

Aisha writes about parenting and child development, sharing insights from her own journey raising two kids. Her articles focus on nurturing emotional intelligence and creating a calm, connected family life.