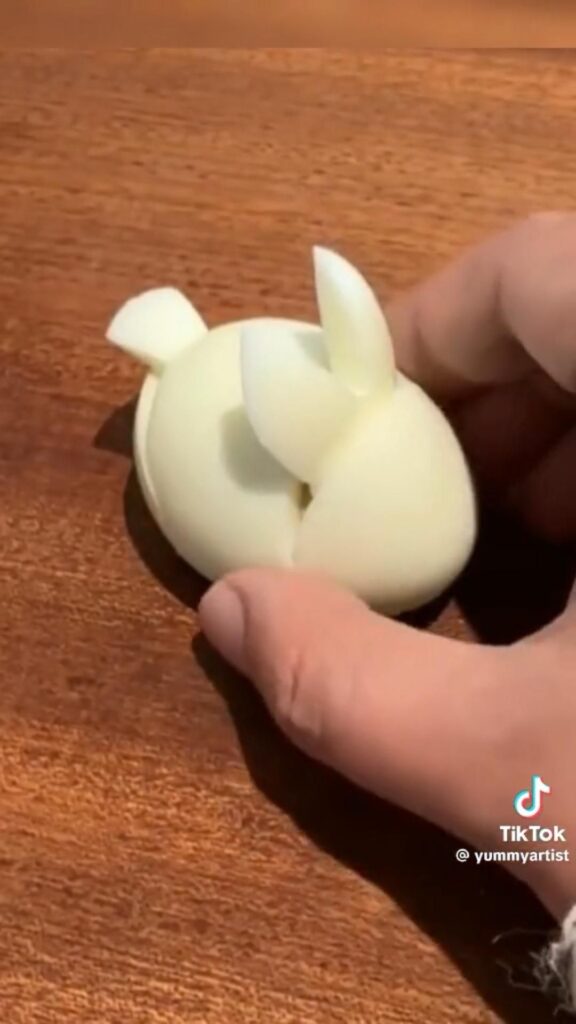
Bunny eggs are the little trick that made my daughter stop trading away her lunch. You boil two eggs, carve a tiny V-shaped notch for the ears, and suddenly a boring box of rice looks like a storybook picnic. That is the whole magic of this bunny egg tutorial for bento box lunches – it is small, silly, and shockingly fast once you know the two moves.
Advertisements1
Here is the honest part most tutorials skip: the ears only stand up if the egg is cooked just past jammy and chilled completely. I learned that the hard way after a batch of wobbly ears flopped into the rice during a school drop-off. So we are going to nail the boil, the ice bath, and the notch – in that order.
You do not need a special mold or a set of tiny cutters. A paring knife, a straw, and a bowl of ice water get you there. Let's make some bunnies.
Why You'll Love This Recipe
About the Ingredients
6 large eggs (about 50g each), fridge-cold
Fridge-cold eggs peel far more cleanly than room-temperature ones because the membrane releases from the shell. If you only have fresh eggs, add 1/2 teaspoon baking soda to the boiling water to loosen the shells.
1 tablespoon (15ml) distilled white vinegar
A splash of vinegar in the boiling water helps any cracked egg white set on contact instead of feathering out. Apple cider vinegar works just as well if that is what is in your cabinet.
1 teaspoon (6g) fine sea salt, for the boiling water
Salt seasons the white slightly through the porous shell. Kosher salt is a fine swap – use 1 1/2 teaspoons since the crystals are bigger.
1 cup (240ml) ice cubes plus 4 cups (960ml) cold water, for the ice bath
The ice bath stops cooking dead and shrinks the egg slightly away from the shell. Keep a second bowl of ice water handy if you are boiling more than six eggs.
2 sheets nori (toasted seaweed), for the eyes and whiskers
Nori punches clean circles for eyes and cuts into thin whiskers. If you cannot find nori, black sesame seeds or tiny dots of black food gel work in a pinch.
1 slice (20g) carrot, steamed 4 minutes, for the noses
A thin triangle of cooked carrot makes a sturdy, bright pink nose that will not bleed into the egg white. A sliver of red bell pepper or a single pink peppercorn are good substitutes.
1/4 teaspoon (1.5g) flaky sea salt, for finishing
Flaky salt adds a little crunch and keeps the egg from tasting flat. Skip it if you are packing this for a very young child.
Tips & Tricks
Do not over-boil
9 minutes at a rolling boil gives a fully set yolk that still slices cleanly. Past 11 minutes the yolk turns gray-green and chalky.
Chill completely before carving
warm eggs tear and the ears droop. Give them at least 10 minutes in the ice bath, or overnight in the fridge.
Cut the ear notch shallow
about 1/4 inch (6mm) deep is plenty. A deep cut splits the egg in half when you press the ear upright.
Pat everything dry
moisture is the enemy of nori. Wet nori curls, slides, and turns the egg white gray within an hour.
Pro Tips
Step-by-Step Instructions
1. Boil the eggs
Bring 6 cups (1.4L) of water with the vinegar and 1 teaspoon salt to a rolling boil at 212F (100C). Lower the cold eggs in gently with a spoon and boil for exactly 9 minutes – the whites will be firm and the yolks just set, with no gray ring.
2. Shock them cold
Move the eggs straight into the ice bath and leave them for 10 minutes. They should feel cold all the way through when you tap them against your lip – that is your cue that the centers are fully stopped.
3. Peel cleanly
Crack each egg all over on a hard surface, then peel under a thin stream of cool running water, starting at the fat end where the air pocket sits. The shell should come off in two or three large pieces with the membrane attached.
4. Cut the ear notch
Lay an egg on its side and make a shallow V-shaped cut about 1/4 inch (6mm) deep along the top, slightly off-center. That V is the space between the two ears – you are not removing the ears, just separating them.
5. Stand the ears up
Gently press the two flaps of the V upward and outward with your fingertips until they stand like rabbit ears. If a flap tears, press it back into place – the egg white is forgiving and sticks to itself.
6. Add the face
Punch two small circles from nori with a straw for the eyes, and cut three thin whiskers per side. Dab the back of each piece with a tiny bit of water and press onto the egg white just below the ears.
7. Finish the nose
Press one small triangle of steamed carrot between the eyes for the nose. Sprinkle with flaky salt and nestle the bunny into your bento box, pressing it lightly into the rice so it does not slide.
8. Pack and chill
Seal the box and keep it cold until lunch. The bunnies hold their shape for about 8 hours in a well-packed box, which covers a full school day.
Delicious Variations
Sleepy bunny
cut the eyes as tiny curved slits instead of circles and lay the ears flat for a napping rabbit.
Panda eggs
skip the ears entirely and add two nori circles for ears and a larger nori patch for the nose.
Deviled bunny
halve the egg, pipe the yolk filling back in, and stand the ears up on the filled half for a party platter.
How to Store Bunny Egg Tutorial for Bento Box
Refrigerator
Store peeled, uncarved eggs in a sealed container covered with cold water for up to 5 days. Add the nori face the morning you pack the box.
Freezer
Do not freeze boiled eggs – the whites turn rubbery and weepy. Freeze only the shaped carrot noses if you want, up to 2 months.
Reheating
Eat bunny eggs cold or at room temperature. If you must warm one, run it under warm tap water for 30 seconds – never microwave a whole egg, it will burst.
Frequently Asked Questions
Q: How do you make bunny eggs for a bento box?
Boil eggs 9 minutes, chill them in ice water for 10 minutes, peel, then cut a shallow V-shaped notch on top and press the two flaps up into ears. Add nori eyes and a carrot nose, and you have a bunny.
Q: Why did my bunny egg ears fall off?
Your eggs were probably still warm or the notch was cut too deep. Chill the eggs completely and keep the V-cut to about 1/4 inch (6mm) so the base stays intact.
Q: How long do bunny eggs stay fresh in a lunchbox?
Peeled eggs keep about 8 hours safely in a chilled bento box with an ice pack. For food safety, do not leave them at room temperature longer than 2 hours.
Q: Can I make bunny eggs the night before?
Yes, boil and peel the eggs the night before and store them in cold water in the fridge. Add the nori face in the morning so it stays crisp instead of going soft and gray.
Q: What can I use instead of nori for the eyes?
Black sesame seeds, a dot of black food gel, or tiny pieces of dark olive all work. Nori gives the cleanest, most classic look, but any dark edible dot reads as an eye.
Boil a batch tonight, chill them, and carve one bunny before bed just to practice the notch. Tomorrow morning you will pack a lunchbox that gets a gasp instead of a shrug. Small steps, big impact.
Bunny Egg Tutorial for Bento Box
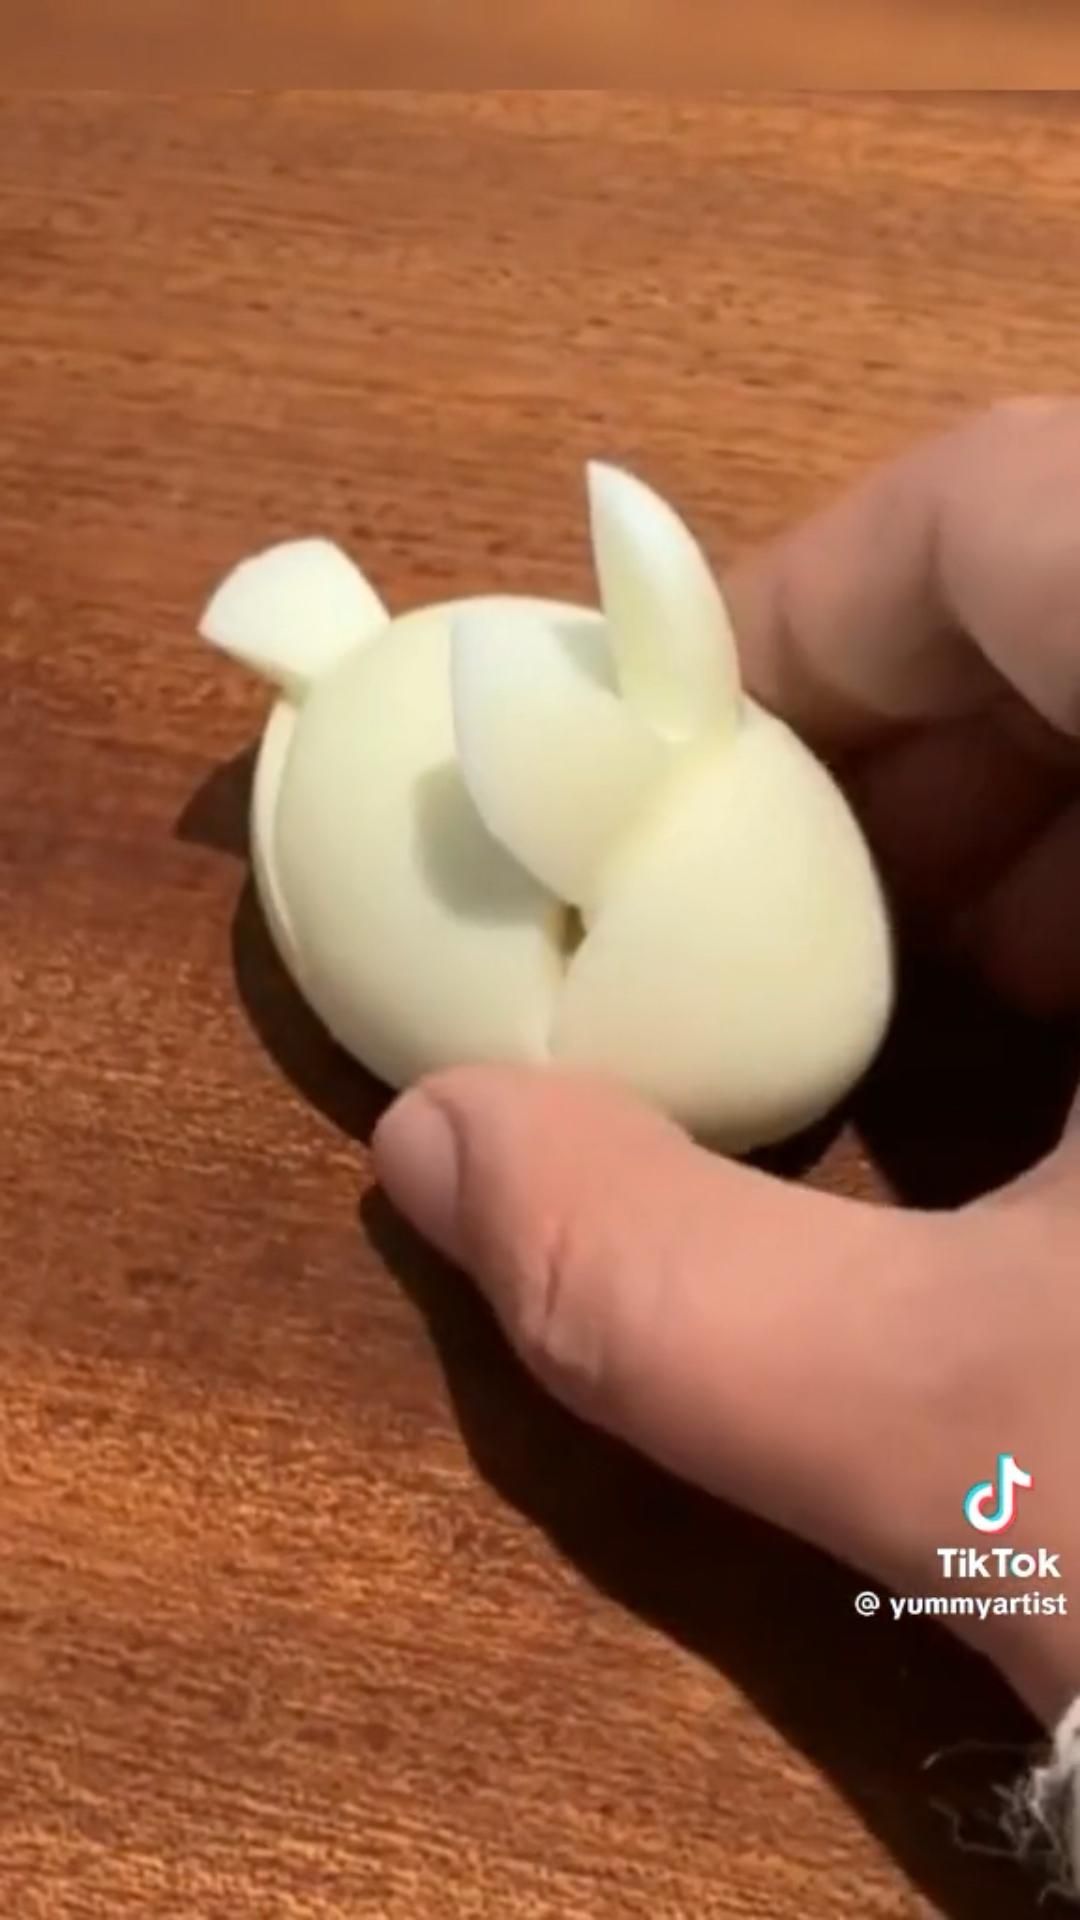
Bunny Egg Tutorial for Bento Box turns two plain eggs into adorable rabbit-shaped toppers that make kids actually excited to open their lunch.
🧂 Ingredients
- 6 large eggs (about 50g each), fridge-cold
- 1 tablespoon (15ml) distilled white vinegar
- 1 teaspoon (6g) fine sea salt, for the boiling water
- 1 cup (240ml) ice cubes plus 4 cups (960ml) cold water, for the ice bath
- 2 sheets nori (toasted seaweed), for the eyes and whiskers
- 1 slice (20g) carrot, steamed 4 minutes, for the noses
- 1/4 teaspoon (1.5g) flaky sea salt, for finishing
📋 Instructions
- 1Boil the eggs — Bring 6 cups (1.4L) of water with the vinegar and 1 teaspoon salt to a rolling boil at 212F (100C). Lower the cold eggs in gently with a spoon and boil for exactly 9 minutes – the whites will be firm and the yolks just set, with no gray ring.
- 2Shock them cold — Move the eggs straight into the ice bath and leave them for 10 minutes. They should feel cold all the way through when you tap them against your lip – that is your cue that the centers are fully stopped.
- 3Peel cleanly — Crack each egg all over on a hard surface, then peel under a thin stream of cool running water, starting at the fat end where the air pocket sits. The shell should come off in two or three large pieces with the membrane attached.
- 4Cut the ear notch — Lay an egg on its side and make a shallow V-shaped cut about 1/4 inch (6mm) deep along the top, slightly off-center. That V is the space between the two ears – you are not removing the ears, just separating them.
- 5Stand the ears up — Gently press the two flaps of the V upward and outward with your fingertips until they stand like rabbit ears. If a flap tears, press it back into place – the egg white is forgiving and sticks to itself.
- 6Add the face — Punch two small circles from nori with a straw for the eyes, and cut three thin whiskers per side. Dab the back of each piece with a tiny bit of water and press onto the egg white just below the ears.
- 7Finish the nose — Press one small triangle of steamed carrot between the eyes for the nose. Sprinkle with flaky salt and nestle the bunny into your bento box, pressing it lightly into the rice so it does not slide.
- 8Pack and chill — Seal the box and keep it cold until lunch. The bunnies hold their shape for about 8 hours in a well-packed box, which covers a full school day.

Maya writes about sustainable living and zero-waste practices, focusing on small, actionable changes for everyday life. She shares practical tips from her own experiments in reducing plastic and food waste.