I call this recipe my Pinterest image cheesecake bites because the first time I made them, my phone camera roll filled up before the pan even cooled. They are tiny, swirled, and impossibly photogenic, but the real win is that they taste even better than they look.
Advertisements1
You do not need a water bath, a springform pan, or any fancy equipment. A standard muffin tin and about 50 minutes of your time get you 18 creamy, cool bites with crisp graham bottoms.
I started making these for potlucks years ago, and now people text me the night before asking if I am bringing them. They are that kind of recipe, simple enough for a Tuesday and pretty enough for a shower.
Why You'll Love This Recipe
About the Ingredients
1 1/2 cups (150g) graham cracker crumbs (about 12 full sheets)
Pulse whole crackers in a food processor or crush them in a zip-top bag with a rolling pin. Shortbread cookies or digestive biscuits work as a swap if you want a richer, less sweet base.
5 tablespoons (70g) unsalted butter, melted
Melt it in the microwave in 20-second bursts so it does not spatter. Salted butter works too, but cut the added salt in the filling to a pinch.
2 tablespoons (25g) granulated sugar, for the crust
Just enough to sweeten the crumbs without making them candy-like. Brown sugar gives a deeper caramel note if you prefer.
16 ounces (454g) full-fat cream cheese, softened
Leave it on the counter for 45 minutes, or the batter will stay lumpy no matter how long you mix. Do not use whipped cream cheese from a tub; it is too airy and the bites sink.
2/3 cup (135g) granulated sugar, for the filling
Standard white sugar keeps the filling clean and tangy. If you swap in honey, reduce the oven temperature by 10F and expect a softer set.
2 large eggs (about 100g), room temperature
Cold eggs shock the batter and create cracks. Run them under warm tap water for a minute if you forgot to set them out.
1/3 cup (80g) full-fat sour cream
This is the secret to that silky, diner-style texture. Plain whole-milk Greek yogurt is a fine one-to-one substitute.
1 1/2 teaspoons vanilla extract
Real vanilla, not imitation, makes a noticeable difference in a simple filling. Almond extract is a lovely swap if you use just 1/2 teaspoon.
1/4 teaspoon fine sea salt
Salt sharpens the tang of the cream cheese so the bites do not taste flat. Kosher salt works; just use a slightly heaping 1/4 teaspoon.
1/4 cup (60g) seedless raspberry or strawberry jam, for swirling
Warm it for 15 seconds so it drizzles instead of clumps. Any fruit preserve or even lemon curd works beautifully here.
Tips & Tricks
Do not overmix once the eggs go in
Stop as soon as the batter is uniform, because extra air puffs the bites and then deflates them into cracks.
Cool them in the tin, then chill
Letting them sit in the warm pan for 20 minutes sets the centers gently before the fridge finishes the job.
- Fill the liners three-quarters full, no more: Cheesecake rises as it bakes, and overfilled cups spill over the crust and stick to the pan.
- Bring everything to room temperature first: Cold cream cheese and eggs are the number one reason home cheesecake turns out lumpy.
Pro Tips
Step-by-Step Instructions
1. Heat Oven and Line Pan
Preheat your oven to 325F (163C) and line a 12-cup muffin tin with paper liners. You will bake in two batches, so keep the second set of liners handy.
2. Make the Crust
Stir the graham crumbs, melted butter, and 2 tablespoons sugar together until the mixture looks like wet sand. Spoon about 1 tablespoon into each liner and press firmly with the back of a small measuring cup.
3. Prebake the Bases
Bake the crusts for 8 minutes, until they smell toasty and look slightly darker at the edges. This step keeps them crisp under the wet filling, so do not skip it.
4. Beat the Filling
Beat the softened cream cheese and 2/3 cup sugar on medium speed for 2 minutes until completely smooth, scraping the bowl once. Add the eggs one at a time, then the sour cream, vanilla, and salt, mixing on low just until combined.
5. Fill the Cups
Divide the batter among the 12 crusts, filling each about three-quarters full. Tap the pan on the counter twice to release any large air bubbles.
6. Swirl the Jam
Dot about 1 teaspoon of jam on each bite and drag a toothpick through it in two or three quick loops. Do not stir it in, or you lose the marble effect.
7. Bake Until Just Set
Bake for 18 to 22 minutes, until the edges look set and the centers still wobble slightly when you nudge the pan. An instant-read thermometer in the middle should read 165F (74C).
8. Cool and Chill
Let the bites cool in the tin for 20 minutes, then transfer them to a plate and refrigerate for at least 3 hours. Repeat with the remaining batter for 6 more bites.
Delicious Variations
Lemon Blueberry
Swap the jam for lemon curd and fold 1/2 cup fresh blueberries into the filling before baking.
Chocolate Swirl
Melt 3 ounces dark chocolate and swirl it in place of the jam for a brownie-cheesecake hybrid.
S'mores Bites
Use crushed grahams plus 2 tablespoons cocoa in the crust and top each bite with a mini marshmallow during the last 4 minutes of baking.
How to Store Pinterest image
Refrigerator
Store in an airtight container in the fridge for up to 4 days. Keep them cold; they soften quickly at room temperature.
Freezer
Freeze the cooled bites on a tray for 1 hour, then transfer to a freezer bag for up to 2 months. Thaw in the fridge overnight.
Reheating
You do not reheat these. Serve them cold or barely cool, straight from the refrigerator, for the best texture.
Frequently Asked Questions
Q: Can I make these cheesecake bites ahead of time?
Yes, and they are actually better made a day ahead. Store them covered in the refrigerator for up to 4 days, or freeze them for up to 2 months and thaw overnight in the fridge.
Q: Why did my cheesecake bites crack on top?
Overmixing the batter and overbaking are the usual culprits. Mix on low speed just until the eggs disappear into the batter, and pull the pan when the centers still wobble slightly, around 165F (74C).
Q: Can I use a mini muffin tin instead?
Absolutely, but adjust the amounts and the time. Use about 2 teaspoons of crust and 1 tablespoon of filling per cup, and start checking for doneness at 14 minutes.
Q: Do I have to prebake the graham crust?
You do not have to, but you should. Prebaking for 8 minutes keeps the crust crisp instead of soggy once the wet filling sits on it, and it deepens the toasty flavor.
Q: What is the best cream cheese for cheesecake bites?
Use full-fat block cream cheese, not spreadable tub cream cheese. The block style has less water and more fat, which gives you a firm, creamy set instead of a watery one.
Give these Pinterest image cheesecake bites a try this week, and tag me in your photos because I genuinely love seeing them. Start with the crust, keep your mixer on low, and trust the wobble. Small steps, big impact.
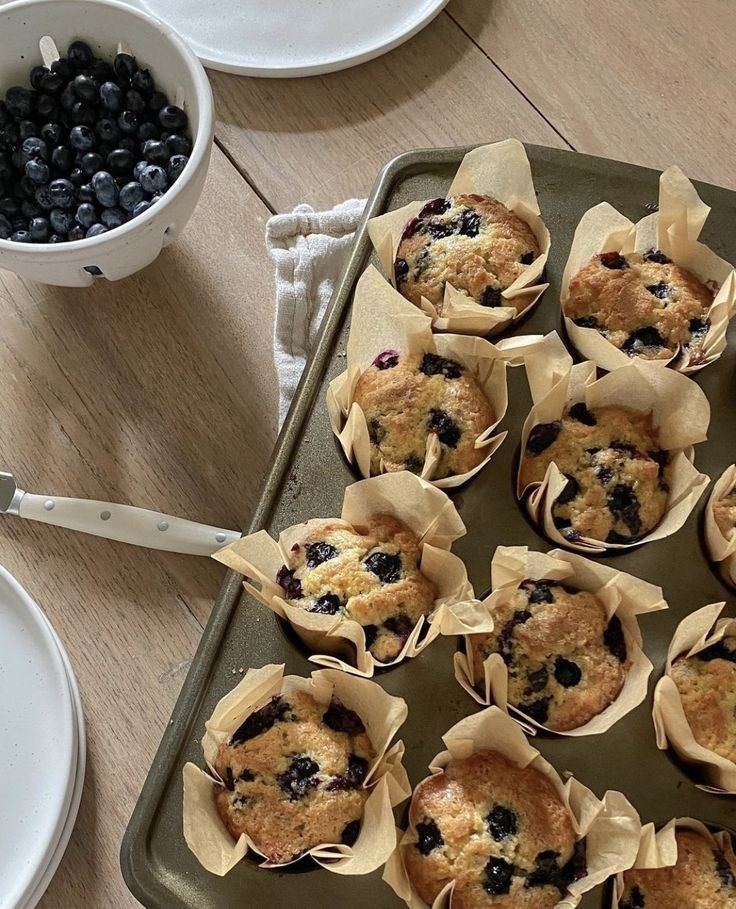
Pinterest image
Pinterest image cheesecake bites are creamy, bite-sized party desserts with a buttery graham crust and tangy cream cheese filling.
🧂 Ingredients
- 1 1/2 cups (150g) graham cracker crumbs (about 12 full sheets)
- 5 tablespoons (70g) unsalted butter, melted
- 2 tablespoons (25g) granulated sugar, for the crust
- 16 ounces (454g) full-fat cream cheese, softened
- 2/3 cup (135g) granulated sugar, for the filling
- 2 large eggs (about 100g), room temperature
- 1/3 cup (80g) full-fat sour cream
- 1 1/2 teaspoons vanilla extract
- 1/4 teaspoon fine sea salt
- 1/4 cup (60g) seedless raspberry or strawberry jam, for swirling
📋 Instructions
- 1Heat Oven and Line Pan — Preheat your oven to 325F (163C) and line a 12-cup muffin tin with paper liners. You will bake in two batches, so keep the second set of liners handy.
- 2Make the Crust — Stir the graham crumbs, melted butter, and 2 tablespoons sugar together until the mixture looks like wet sand. Spoon about 1 tablespoon into each liner and press firmly with the back of a small measuring cup.
- 3Prebake the Bases — Bake the crusts for 8 minutes, until they smell toasty and look slightly darker at the edges. This step keeps them crisp under the wet filling, so do not skip it.
- 4Beat the Filling — Beat the softened cream cheese and 2/3 cup sugar on medium speed for 2 minutes until completely smooth, scraping the bowl once. Add the eggs one at a time, then the sour cream, vanilla, and salt, mixing on low just until combined.
- 5Fill the Cups — Divide the batter among the 12 crusts, filling each about three-quarters full. Tap the pan on the counter twice to release any large air bubbles.
- 6Swirl the Jam — Dot about 1 teaspoon of jam on each bite and drag a toothpick through it in two or three quick loops. Do not stir it in, or you lose the marble effect.
- 7Bake Until Just Set — Bake for 18 to 22 minutes, until the edges look set and the centers still wobble slightly when you nudge the pan. An instant-read thermometer in the middle should read 165F (74C).
- 8Cool and Chill — Let the bites cool in the tin for 20 minutes, then transfer them to a plate and refrigerate for at least 3 hours. Repeat with the remaining batter for 6 more bites.

Maya writes about sustainable living and zero-waste practices, focusing on small, actionable changes for everyday life. She shares practical tips from her own experiments in reducing plastic and food waste.