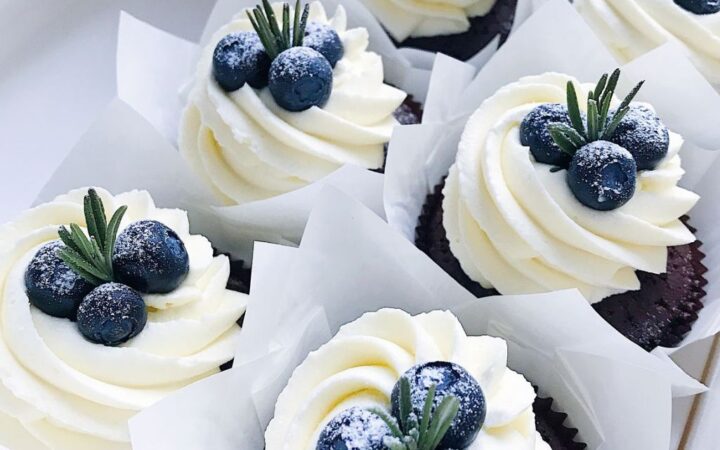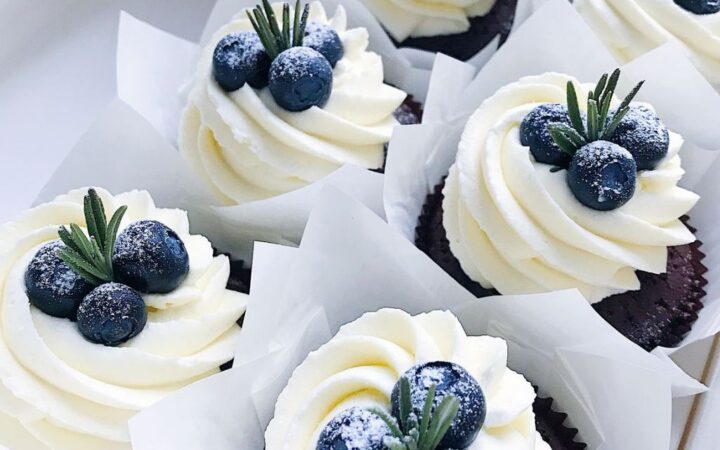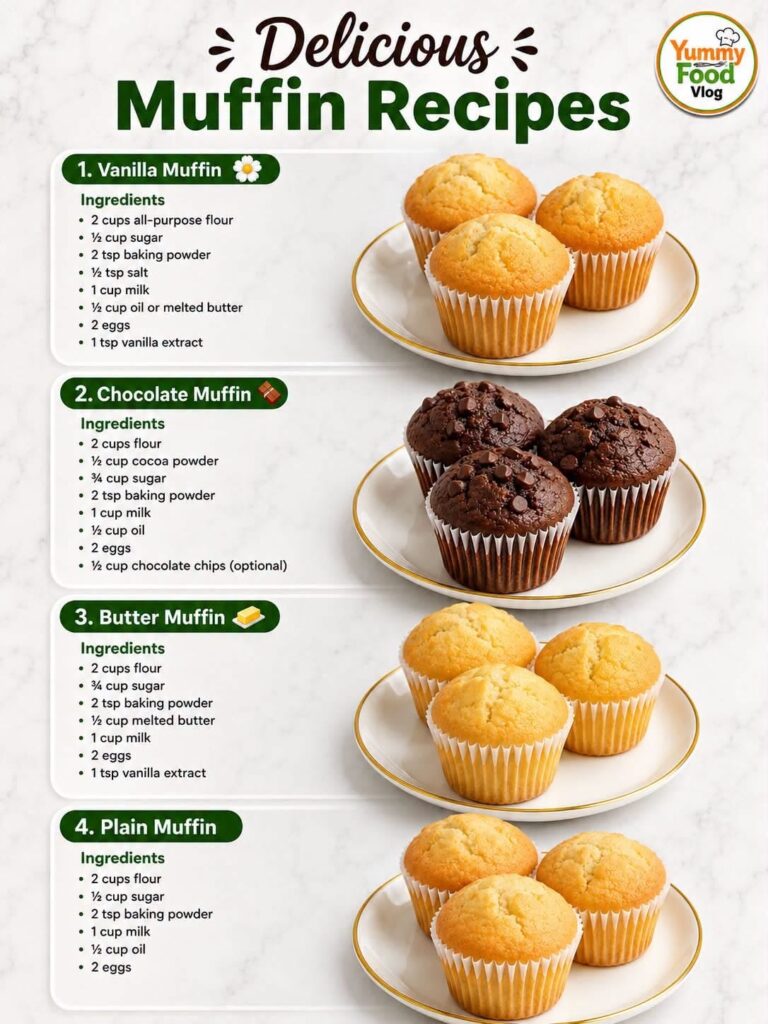
Pinterest image cookies are the marbled swirl cookies you keep seeing pinned: one dough, two colors, and a soft chewy center that photographs as well as it tastes. The name comes from how the finished cookie looks – a clean vanilla base with a chocolate swirl running through it, exactly the kind of top-down shot that gets saved and repinned.
Advertisements1
Technically speaking, this is a marbling technique, not a mixing technique. Marbling means you fold two differently colored doughs together just 3 to 4 times so the colors stay distinct instead of blending into a muddy brown. Overwork it and you lose the pattern; underwork it and you get stripes instead of swirls.
The dough is a standard butter-and-egg drop cookie base, so there is no chilling step and no stand mixer required. You will have a full tray in the oven in about 15 minutes of active work, and the swirl holds its shape during baking because both doughs share the same fat and flour ratio.
Why You'll Love This Recipe
About the Ingredients
2 1/4 cups (280g) all-purpose flour
Spoon the flour into the cup and level it off – scooping straight from the bag packs in up to 20% extra and makes dry, crumbly cookies. For a gluten-free version, swap in a 1:1 blend plus 1/2 teaspoon xanthan gum.
1 teaspoon baking soda
This is the only leavener in the recipe, so check the date on the box – baking soda loses roughly half its lift after 6 months open. If yours is old, use 1 1/4 teaspoons.
1/2 teaspoon fine sea salt
Fine sea salt dissolves evenly into the butter; coarse kosher flakes can leave salty pockets. If you only have table salt, cut it to 1/4 teaspoon because the crystals are much denser.
3/4 cup (170g) unsalted butter, softened
The butter should dent when you press it but still hold its shape – about 65F to 68F (18C to 20C). If you only have salted butter, omit the added salt above.
1 cup (200g) packed light brown sugar
Brown sugar brings the moisture that keeps these cookies soft for days. Dark brown sugar works too but adds a molasses note that competes with the cocoa swirl.
1/4 cup (50g) granulated sugar
White sugar helps the edges set and brown. Do not replace it entirely with brown sugar or the cookies spread too thin and lose their shape.
1 large egg plus 1 egg yolk, room temperature
The extra yolk adds fat and chew. Cold eggs seize the butter and cause a curdled-looking mixture, so let them sit on the counter for 20 minutes first.
2 teaspoons vanilla extract
Real extract, not imitation, if you can – the alcohol carries the aroma through baking. Vanilla bean paste works 1:1 and adds visible specks.
3 tablespoons (15g) unsweetened Dutch-process cocoa powder
Dutch-process cocoa is darker and less acidic than natural cocoa, which gives a richer swirl color. Natural cocoa works fine but the swirl will look lighter brown.
1 tablespoon milk, any kind
This loosens the cocoa half so it marbles cleanly instead of cracking. Oat, soy, or whole milk all work; water is a last resort and makes the chocolate dough slightly stiff.
Tips & Tricks
Weigh your flour if you own a scale
280g is the target, and volume measuring is the number one cause of dry cookies here.
- Marbling is a fold, not a stir. Three or four gentle folds with a spatula give you the swirl; ten folds give you brown cookies.
- Bake one test cookie first. Ovens run hot or cold by 25F (14C), and a single cookie tells you whether to adjust time before you commit the whole tray.
- Pull the cookies when the centers still look underdone – they finish setting on the hot pan during the 5-minute rest.
Pro Tips
Step-by-Step Instructions
1. Heat the oven and line pans
Preheat the oven to 350F (175C) and line two baking sheets with parchment paper. If you only own one sheet, let it cool completely between batches or the dough will spread before it sets.
2. Whisk the dry base
Whisk the flour, baking soda, and salt together in a medium bowl for 30 seconds. This distributes the baking soda evenly so every cookie rises at the same rate.
3. Cream butter and sugars
Beat the softened butter, brown sugar, and granulated sugar for 2 minutes until pale and fluffy. You are not just combining here – you are trapping air, which is what makes the crumb tender.
4. Add egg and vanilla
Beat in the egg, yolk, and vanilla until fully absorbed, about 30 seconds. The mixture should look glossy and smooth, not separated or grainy.
5. Fold in the flour
Add the dry ingredients and mix on low just until the last streaks of flour disappear. Stop there – extra mixing develops gluten and turns soft cookies tough.
6. Split and color the dough
Move one third of the dough to a small bowl and stir in the cocoa powder and milk until evenly dark. Leave the larger portion plain vanilla.
7. Marble the two doughs
Drop spoonfuls of both doughs onto a sheet of parchment and fold them together 3 to 4 times with a spatula. You want visible ribbons of chocolate, not a uniform brown.
8. Scoop and bake
Scoop 1.5-tablespoon balls onto the prepared sheets 2 inches apart and bake at 350F (175C) for 10 to 12 minutes. They are done when the edges are set and lightly golden while the centers still look soft and slightly glossy.
9. Cool on the pan
Leave the cookies on the hot sheet for 5 minutes so the centers finish setting, then transfer to a wire rack. Moving them early tears the soft middles.
Delicious Variations
Red Velvet Swirl
Replace 1 tablespoon of the cocoa with red gel food coloring in the chocolate half for a red-and-cream marble that pops on camera.
Espresso Marble
Add 1 teaspoon instant espresso powder to the cocoa dough for a mocha swirl that cuts the sweetness.
Peppermint Swirl
Fold 1/4 teaspoon peppermint extract into the vanilla dough and top with crushed candy canes – a December version that pins especially well.
How to Store Pinterest image
Refrigerator
Store baked cookies in an airtight container at room temperature for up to 5 days; refrigeration makes them stale faster, so only chill the raw dough, which keeps 3 days.
Freezer
Freeze raw scooped dough balls on a tray for 1 hour, then bag them for up to 3 months. Bake from frozen at 350F (175C) for 12 to 14 minutes.
Reheating
Warm baked cookies in a 300F (150C) oven for 3 to 4 minutes, or microwave one for 10 seconds – any longer and the chocolate swirl turns rubbery.
Frequently Asked Questions
Q: Why did my marbled cookies turn out all brown?
You over-folded the two doughs, which blends the colors into one shade. Fold only 3 to 4 times with a spatula and stop while you can still see distinct vanilla and chocolate ribbons.
Q: Do I need to chill this cookie dough before baking?
No, this dough is designed to bake straight from the bowl. Chilling it for more than 15 minutes makes the butter too firm, which causes less spread and a thicker, cakier cookie.
Q: Can I make these Pinterest image cookies gluten free?
Yes, swap the all-purpose flour for a 1:1 gluten-free baking blend plus 1/2 teaspoon xanthan gum. The texture is slightly more crumbly but the swirl and flavor stay the same.
Q: How do I keep the cookies from spreading too much?
Make sure your butter is softened but not melted, and chill the scooped dough balls for 10 minutes if your kitchen is above 75F (24C). Warm butter is the main cause of flat, thin cookies.
Q: How do I know when the cookies are done?
Pull them when the edges are set and golden and the centers still look soft and slightly shiny, about 10 to 12 minutes at 350F (175C). They finish setting during the 5-minute rest on the hot pan.
Bake a batch this week, snap that top-down shot while the swirl is still sharp, and save the recipe so you are not hunting for it next time. If your marble comes out perfectly, leave a rating below and tell me which variation you tried. Stay safe, stay informed.
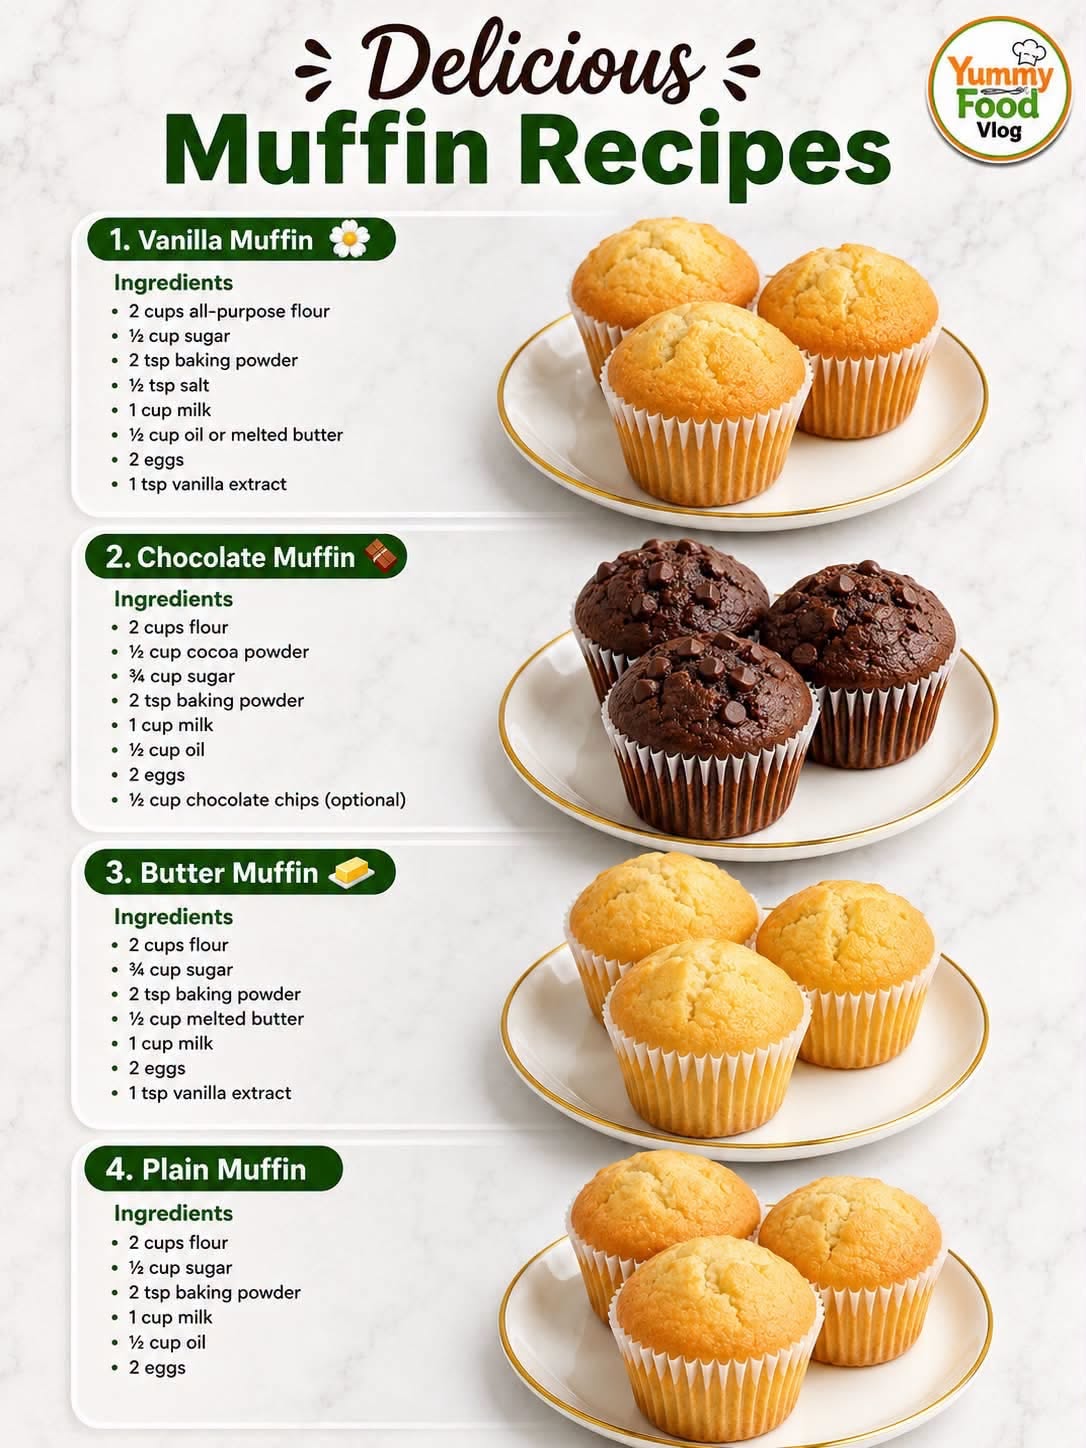
Pinterest image
Pinterest image cookies are soft marbled vanilla-chocolate swirl cookies that bake up bakery-style in 50 minutes with zero chilling and zero fuss.
🧂 Ingredients
- 2 1/4 cups (280g) all-purpose flour
- 1 teaspoon baking soda
- 1/2 teaspoon fine sea salt
- 3/4 cup (170g) unsalted butter, softened
- 1 cup (200g) packed light brown sugar
- 1/4 cup (50g) granulated sugar
- 1 large egg plus 1 egg yolk, room temperature
- 2 teaspoons vanilla extract
- 3 tablespoons (15g) unsweetened Dutch-process cocoa powder
- 1 tablespoon milk, any kind
📋 Instructions
- 1Heat the oven and line pans — Preheat the oven to 350F (175C) and line two baking sheets with parchment paper. If you only own one sheet, let it cool completely between batches or the dough will spread before it sets.
- 2Whisk the dry base — Whisk the flour, baking soda, and salt together in a medium bowl for 30 seconds. This distributes the baking soda evenly so every cookie rises at the same rate.
- 3Cream butter and sugars — Beat the softened butter, brown sugar, and granulated sugar for 2 minutes until pale and fluffy. You are not just combining here – you are trapping air, which is what makes the crumb tender.
- 4Add egg and vanilla — Beat in the egg, yolk, and vanilla until fully absorbed, about 30 seconds. The mixture should look glossy and smooth, not separated or grainy.
- 5Fold in the flour — Add the dry ingredients and mix on low just until the last streaks of flour disappear. Stop there – extra mixing develops gluten and turns soft cookies tough.
- 6Split and color the dough — Move one third of the dough to a small bowl and stir in the cocoa powder and milk until evenly dark. Leave the larger portion plain vanilla.
- 7Marble the two doughs — Drop spoonfuls of both doughs onto a sheet of parchment and fold them together 3 to 4 times with a spatula. You want visible ribbons of chocolate, not a uniform brown.
- 8Scoop and bake — Scoop 1.5-tablespoon balls onto the prepared sheets 2 inches apart and bake at 350F (175C) for 10 to 12 minutes. They are done when the edges are set and lightly golden while the centers still look soft and slightly glossy.
- 9Cool on the pan — Leave the cookies on the hot sheet for 5 minutes so the centers finish setting, then transfer to a wire rack. Moving them early tears the soft middles.

Jonas writes about technology and digital privacy, translating complex concepts into clear, actionable advice for everyday users. He focuses on practical steps to protect personal data without being paranoid.