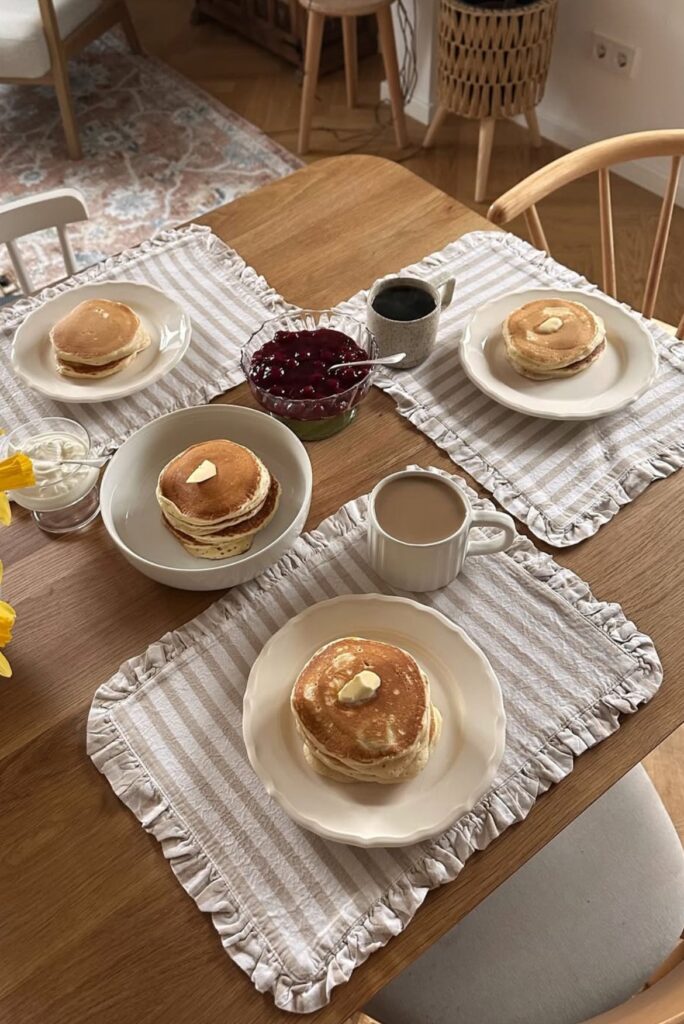
The name Pinterest Image Cookies started as a family joke. Years ago I baked a batch of jam thumbprints for a school bake sale, snapped a quick photo on my phone, and pinned it while the cookies were still warm. By morning it had been saved thousands of times, and my kids started calling them the Pinterest image cookies. The name stuck because these little cookies really are as pretty as they are delicious.
Advertisements1
There is something deeply comforting about a cookie that asks so little of you. You cream butter and sugar, fold in flour, roll small balls, press a little well with your thumb, and fill each one with glossy jam. That is it. No chilling overnight, no piping bags, no fussy royal icing. In under an hour you have a tray of golden, jewel-topped cookies that look like you spent the afternoon styling them.
I make these on the days when I need a small win. Maybe the laundry is piled up and the emails are unanswered, but there is a plate of warm thumbprints on the counter and a cup of chai beside it. That counts for something. Baking does not have to be perfect to be meaningful, and neither do we.
Why You'll Love This Recipe
About the Ingredients
1 cup (227g) unsalted butter, softened
Let it sit at room temperature for about 30 minutes until it dents easily under your finger. If you only have salted butter, cut the added salt in the recipe to 1/8 teaspoon.
2/3 cup (135g) granulated sugar
Plain white sugar creams best with butter and keeps the cookies pale gold. You can swap in an equal amount of cane sugar if you prefer a slightly deeper flavor.
1 large egg, room temperature
A room-temperature egg emulsifies more smoothly, so pull it out with the butter. If you forgot, place it in a bowl of warm tap water for 5 minutes.
1 teaspoon vanilla extract
Real vanilla rounds out the buttery flavor. Almond extract makes a lovely substitute; use 1/2 teaspoon since it is stronger.
2 cups (250g) all-purpose flour
Spoon the flour into the measuring cup and level it off so you do not pack in too much. A 1-to-1 gluten-free blend works if you let the dough rest 10 minutes before rolling.
1/4 cup (30g) cornstarch
Cornstarch is the secret to that soft, short crumb. If you are out, use an equal amount of cake flour and reduce the all-purpose flour by 2 tablespoons.
1/2 teaspoon fine salt
Salt keeps the cookies from tasting flat. Fine sea salt dissolves more evenly than coarse kosher salt here.
2/3 cup (200g) fruit jam or preserves
Raspberry, apricot, and strawberry are classics; seedless preserves give the cleanest look. Stir the jam with a spoon first so it spoon into the wells easily.
3 tablespoons (24g) powdered sugar, for dusting
Optional but pretty, and it hides any small cracks. Dust only after the cookies cool completely or it will melt into the jam.
Tips & Tricks
Measure Flour Lightly
Scooping flour straight from the bag compacts it and makes dry, crumbly cookies. Fluff the flour, spoon it into the cup, then level with a knife.
Press the Well Gently
Use the back of a 1/2-teaspoon measure or your thumb and press only halfway down. Pressing through to the bottom causes jam to leak out during baking.
Do Not Overbake
Pull the cookies when the edges are set and barely golden; they firm up as they cool. An extra two minutes turns tender cookies into hard ones.
Warm the Jam
A quick 15 seconds in the microwave makes the jam pourable so it settles into the well without overflowing.
Pro Tips
Step-by-Step Instructions
1. Heat the Oven
Preheat the oven to 350F (175C) and line two baking sheets with parchment paper. Positioning one rack in the center gives the most even browning.
2. Cream Butter and Sugar
Beat the softened butter and granulated sugar on medium speed for 2 to 3 minutes until pale and fluffy. This step traps air, which is what makes the cookies tender rather than dense.
3. Add Egg and Vanilla
Beat in the egg and vanilla until fully incorporated, scraping down the bowl once. The mixture should look smooth and glossy, not curdled.
4. Mix the Dry Ingredients
Whisk the flour, cornstarch, and salt together in a separate bowl. Adding them in two batches keeps the dough from flying out of the mixer.
5. Form the Dough
Mix on low just until the flour disappears and the dough pulls together. Stop the moment it looks uniform; overmixing develops gluten and makes the cookies tough.
6. Roll and Press
Roll the dough into 1-inch (2.5 cm) balls, about 24 total, and space them 2 inches apart on the sheets. Press a deep well in the center of each with your thumb or the back of a small measuring spoon.
7. Fill with Jam
Spoon about 1 teaspoon of jam into each well, filling it three-quarters full. Overfilling causes the jam to bubble over and burn on the pan.
8. Bake Until Golden
Bake one sheet at a time for 12 to 14 minutes at 350F (175C) until the edges are set and barely golden. The centers will look slightly soft; that is exactly right, and they will firm up as they cool.
9. Cool and Dust
Let the cookies rest on the sheet for 5 minutes, then transfer to a wire rack to cool completely. Dust with powdered sugar once cool, if using.
Delicious Variations
Chocolate Thumbprints
Swap 1/4 cup of the flour for cocoa powder and fill the wells with chocolate ganache instead of jam.
Lemon Curd Centers
Use lemon curd in place of jam and add 1 teaspoon of lemon zest to the dough for a bright, citrusy twist.
Nutty Roll
Roll the dough balls in finely chopped pecans or almonds before pressing the wells, then fill with raspberry jam.
How to Store Pinterest Image
Refrigerator
Store cooled cookies in an airtight container at room temperature for up to 5 days; refrigerate if your kitchen is warm or the jam is homemade, for up to 2 weeks.
Freezer
Freeze baked cookies in a single layer, then transfer to a freezer bag for up to 3 months. Unbaked dough balls freeze well too; press and fill after thawing.
Reheating
Warm refrigerated or frozen cookies in a 300F (150C) oven for 5 minutes to soften the crumb and re-gloss the jam.
Frequently Asked Questions
Q: Why did my thumbprint cookies spread flat?
The butter was likely too soft or the dough was warm. Chill the rolled dough balls for 10 to 15 minutes before baking and use butter that is softened but still cool to the touch.
Q: Can I make thumbprint cookies without cornstarch?
Yes, substitute an equal amount of cake flour and reduce the all-purpose flour by 2 tablespoons. The cookies will be slightly less tender but still delicious.
Q: How do I keep the jam from bubbling over?
Fill each well only three-quarters full and press the well no deeper than halfway into the dough. A thicker jam or preserve also stays put better than a thin jelly.
Q: Can I freeze the dough before baking?
Absolutely, and it is one of the best things about this recipe. Roll the dough into balls, freeze on a tray, then bag them for up to 3 months and bake from frozen, adding 2 to 3 minutes.
Q: What is the best jam for thumbprint cookies?
Seedless raspberry, apricot, and strawberry preserves are the most popular because they are thick and glossy. Avoid thin jellies, which run during baking.
I hope these Pinterest Image Cookies bring a little beauty and calm to your kitchen this week. Bake a batch, snap a photo if you like, and share them with someone who could use a small, sweet moment. And if the first tray spreads or the jam bubbles, that is simply practice, not failure. Parenting, one mindful moment at a time.
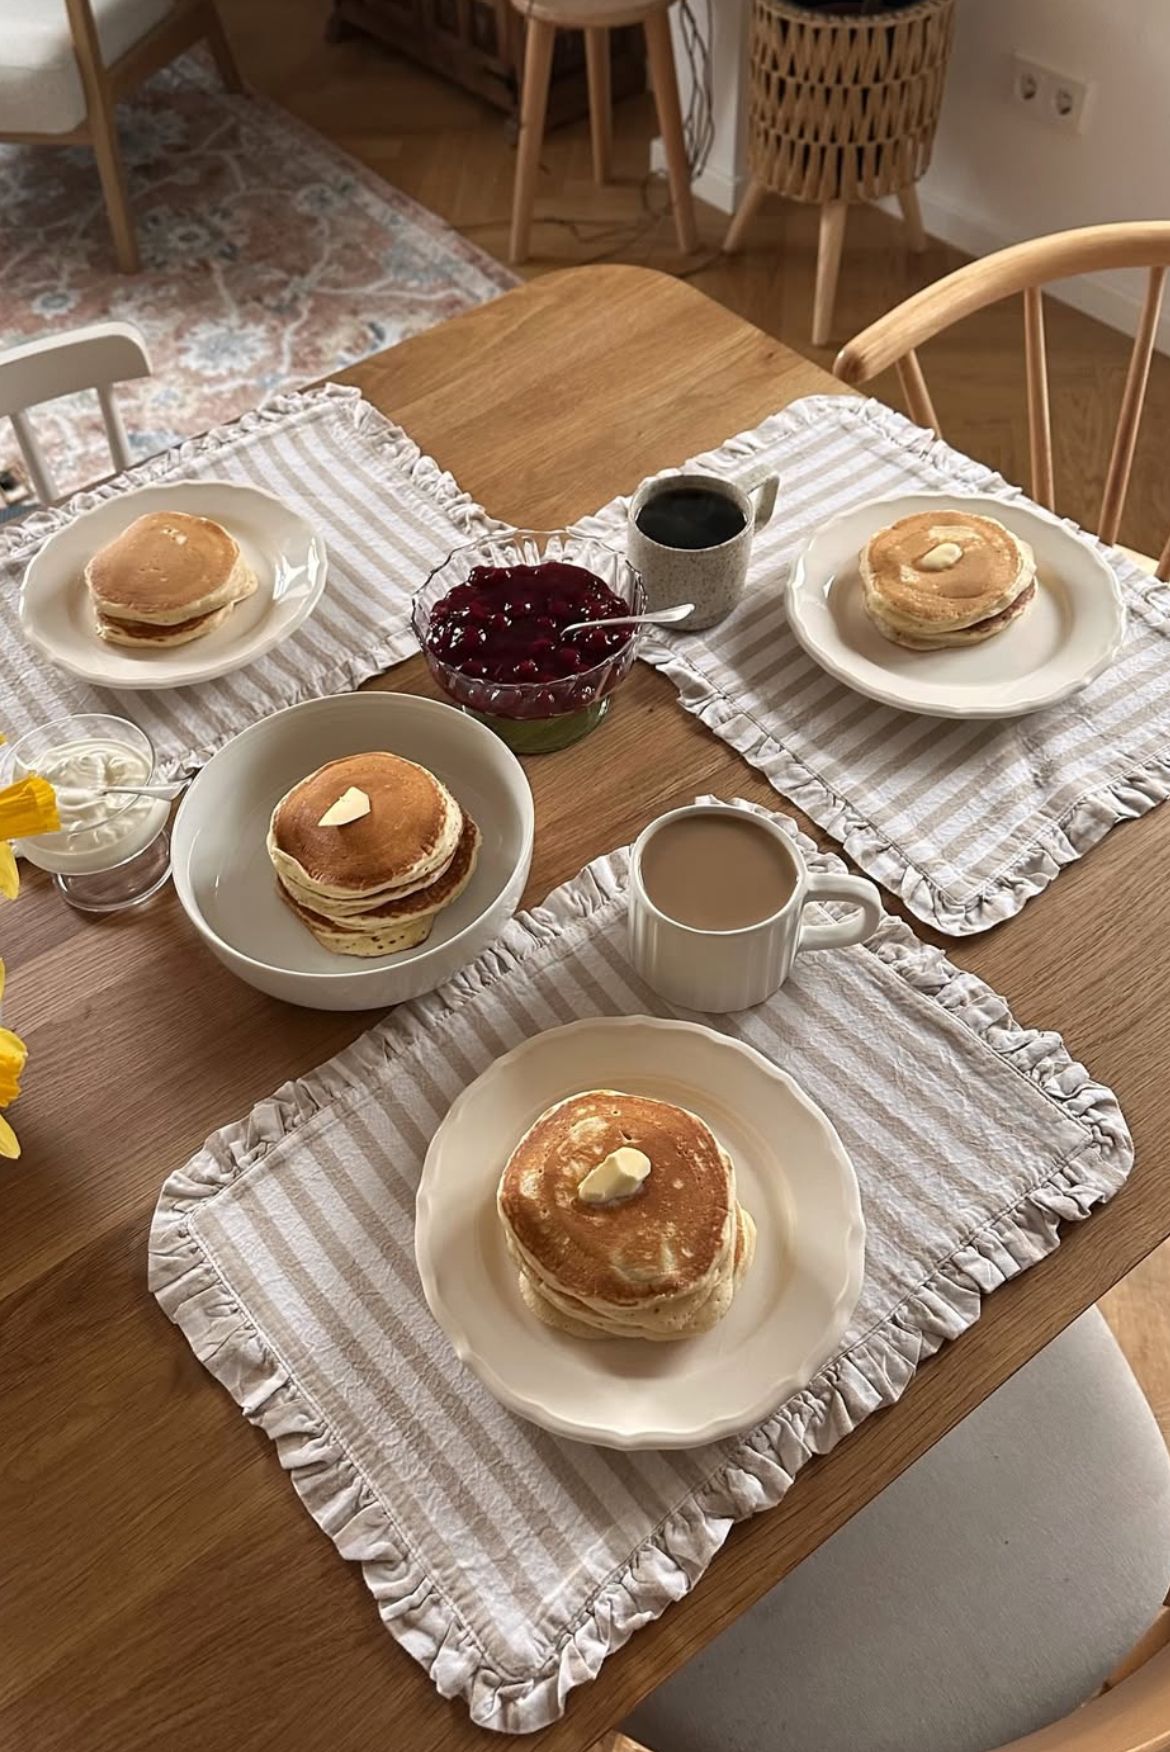
Pinterest Image
Pinterest Image Cookies are buttery, jam-filled thumbprint cookies that look stunning in photos and taste even better with tea.
🧂 Ingredients
- 1 cup (227g) unsalted butter, softened
- 2/3 cup (135g) granulated sugar
- 1 large egg, room temperature
- 1 teaspoon vanilla extract
- 2 cups (250g) all-purpose flour
- 1/4 cup (30g) cornstarch
- 1/2 teaspoon fine salt
- 2/3 cup (200g) fruit jam or preserves
- 3 tablespoons (24g) powdered sugar, for dusting
📋 Instructions
- 1Heat the Oven — Preheat the oven to 350F (175C) and line two baking sheets with parchment paper. Positioning one rack in the center gives the most even browning.
- 2Cream Butter and Sugar — Beat the softened butter and granulated sugar on medium speed for 2 to 3 minutes until pale and fluffy. This step traps air, which is what makes the cookies tender rather than dense.
- 3Add Egg and Vanilla — Beat in the egg and vanilla until fully incorporated, scraping down the bowl once. The mixture should look smooth and glossy, not curdled.
- 4Mix the Dry Ingredients — Whisk the flour, cornstarch, and salt together in a separate bowl. Adding them in two batches keeps the dough from flying out of the mixer.
- 5Form the Dough — Mix on low just until the flour disappears and the dough pulls together. Stop the moment it looks uniform; overmixing develops gluten and makes the cookies tough.
- 6Roll and Press — Roll the dough into 1-inch (2.5 cm) balls, about 24 total, and space them 2 inches apart on the sheets. Press a deep well in the center of each with your thumb or the back of a small measuring spoon.
- 7Fill with Jam — Spoon about 1 teaspoon of jam into each well, filling it three-quarters full. Overfilling causes the jam to bubble over and burn on the pan.
- 8Bake Until Golden — Bake one sheet at a time for 12 to 14 minutes at 350F (175C) until the edges are set and barely golden. The centers will look slightly soft; that is exactly right, and they will firm up as they cool.
- 9Cool and Dust — Let the cookies rest on the sheet for 5 minutes, then transfer to a wire rack to cool completely. Dust with powdered sugar once cool, if using.

Aisha writes about parenting and child development, sharing insights from her own journey raising two kids. Her articles focus on nurturing emotional intelligence and creating a calm, connected family life.