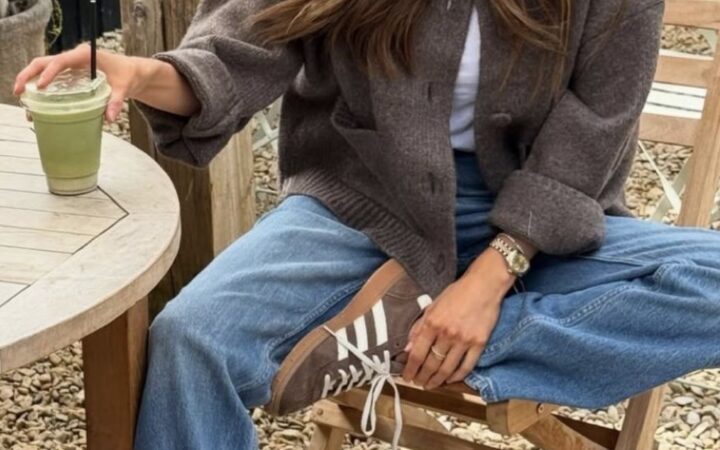
If you're a blogger or business owner, you know that a Pinterest image can make or break your content's reach. A well-designed pin can triple your click-through rate, while a poorly designed one gets lost in the feed.
Advertisements1
This guide walks you through the exact process I use to create high-performing Pinterest images. You'll learn the technical specs, design principles, and optimization tricks that make pins stand out. No fluff, just actionable steps.
By the end, you'll have a repeatable system for designing pins that not only look great but also get saved and clicked.
Why You'll Love This Recipe
About the Ingredients
1 high-resolution image (1000 x 1500 px)
Use your own photo or a free stock photo from Unsplash or Pexels. Ensure it's vertical (2:3 ratio) for best visibility.
1 compelling headline (max 6 words)
Craft a benefit-driven title like '10 Easy Dinner Ideas'. Use Power Words like 'Easy', 'Quick', 'Best'.
1 supporting text (optional)
Add a short subtitle or list to provide context. Keep it brief—avoid clutter.
Brand colors (2-3 max)
Choose colors that align with your brand. Use a tool like Coolors to find a palette. Stick to 2-3 colors for consistency.
1-2 fonts (one bold, one readable)
Pick a bold font for the headline (e.g., Montserrat Bold) and a clean font for body text (e.g., Open Sans). Avoid more than 2 fonts to keep it clean.
Design software (Canva, Photoshop, or similar)
Canva free version is sufficient. It offers pre-sized templates and easy drag-and-drop.
Pinterest account (Business for analytics)
A business account gives you access to Pinterest Analytics to track performance.
Tips & Tricks
- Use high-contrast text and background to ensure readability on mobile devices.
- Include your logo or blog name subtly in the corner to build brand recognition.
- Test different images and headlines to see what resonates with your audience.
- Optimize your image file size (under 1MB) to ensure fast loading.
Pro Tips
Step-by-Step Instructions
1. Set up your canvas
Open Canva and search for 'Pinterest Pin' template. Choose the standard size 1000 x 1500 px (2:3 ratio). This ensures your pin displays correctly in the feed.
2. Upload your image
Drag and drop your high-resolution image onto the canvas. Position it to fill the background or as a focal point. If needed, adjust brightness or contrast to make it pop.
3. Add your headline
Click 'Text' and add a headline. Use a bold font, size 80-100 pt. Place it prominently, usually at the top or center. Keep it under 6 words for impact.
4. Include supporting text
Add a subtitle or list in a smaller font (40-50 pt). This can be a brief description like 'Perfect for weeknights' or 'Step-by-step guide'. Ensure it complements the headline.
5. Apply brand colors
Use your brand colors for text overlays, shapes, or borders. Click on elements to change their color. Consistency helps build recognition. Avoid using more than 3 colors.
6. Add your logo
Upload your logo and place it in a corner, scaled down to about 10% of the canvas. This helps with brand recall but doesn't distract.
7. Optimize text contrast
If your image is busy, add a semi-transparent overlay or a solid color box behind the text to ensure readability. Use the 'Position' tool to layer elements.
8. Export and upload
Click 'Share' and download as PNG (best quality). Then upload to Pinterest with a keyword-rich description and a link to your blog post. Use a tool like Tailwind to schedule pins.
Delicious Variations
- Use a collage of multiple images to showcase a recipe step-by-step.
- Create a quote-style pin with a motivational quote over a beautiful background.
- Make a listicle pin with a numbered list of tips or ideas.
How to Store Pinterest image
Refrigerator
Not applicable for design assets. Store your design files in cloud storage like Google Drive or Dropbox for easy access.
Freezer
Not applicable. Keep your source images organized in folders for future use.
Reheating
If you need to update an image, simply open the original file in Canva, make changes, and re-export. This ensures consistency.
Frequently Asked Questions
Q: What is the best image size for Pinterest?
The best image size is 1000 x 1500 pixels (2:3 ratio). This is the standard for Pinterest and ensures your pin displays fully in the feed without being cropped.
Q: How many words should be on a Pinterest image?
Keep text minimal—ideally under 10 words. Use a short headline and maybe a subtitle. Too much text clutters the image and reduces engagement.
Q: How do I make my Pinterest image stand out?
Use bold, readable fonts, high-contrast colors, and a clear focal point. Avoid clutter and ensure your image is visually appealing at a small size on mobile.
Q: Should I put text on my Pinterest image?
Yes, adding text overlay increases click-through rate. Use a benefit-driven headline to entice users to click. But keep it brief and readable.
Q: What file format should I use for Pinterest images?
Use PNG or JPG. PNG is preferred for crisp text, but JPG is acceptable. Ensure the file size is under 1MB for fast loading.
Ready to create pins that get noticed? Start by grabbing your free Canva account and try out these steps today. Don't forget to save this guide for your next pin design session!
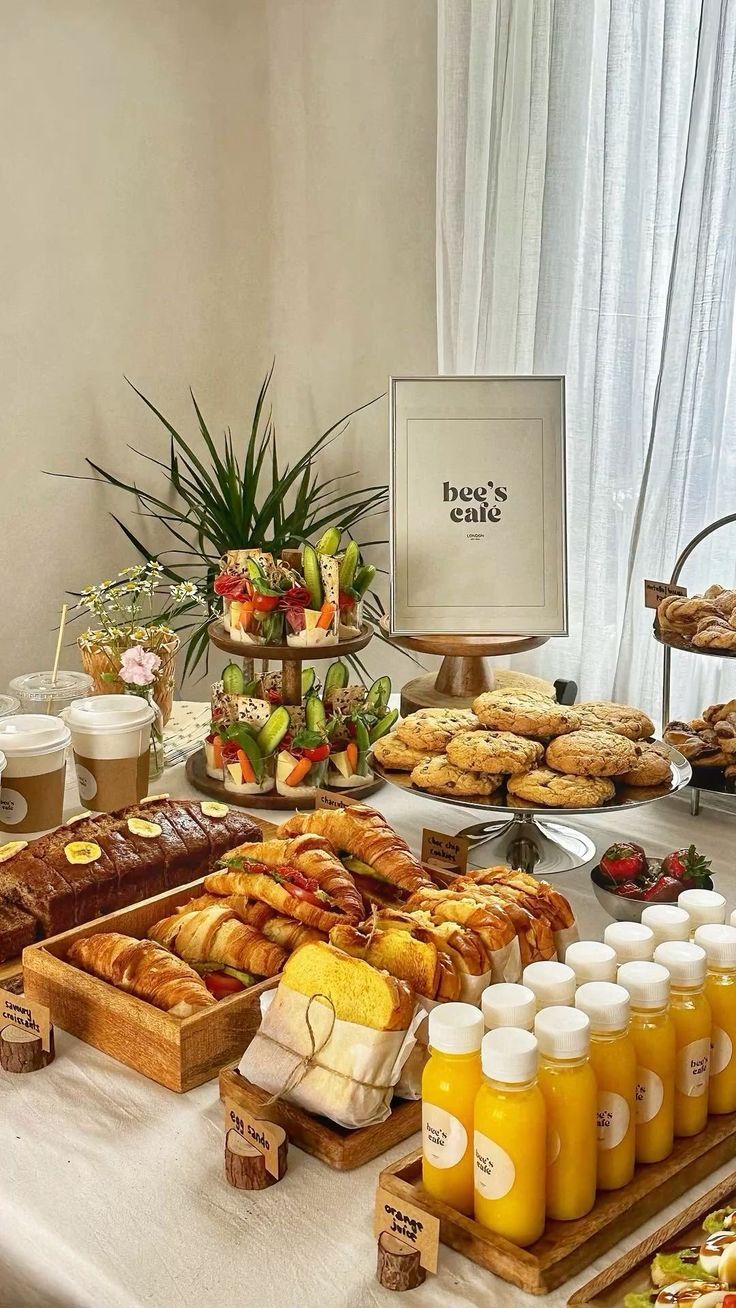
Pinterest image
Pinterest image: a step-by-step visual guide to create a stunning, eye-catching pin that drives traffic to your blog.
🧂 Ingredients
- 1 high-resolution image (1000 x 1500 px)
- 1 compelling headline (max 6 words)
- 1 supporting text (optional)
- Brand colors (2-3 max)
- 1-2 fonts (one bold, one readable)
- Design software (Canva, Photoshop, or similar)
- Pinterest account (Business for analytics)
📋 Instructions
- 1Set up your canvas — Open Canva and search for 'Pinterest Pin' template. Choose the standard size 1000 x 1500 px (2:3 ratio). This ensures your pin displays correctly in the feed.
- 2Upload your image — Drag and drop your high-resolution image onto the canvas. Position it to fill the background or as a focal point. If needed, adjust brightness or contrast to make it pop.
- 3Add your headline — Click 'Text' and add a headline. Use a bold font, size 80-100 pt. Place it prominently, usually at the top or center. Keep it under 6 words for impact.
- 4Include supporting text — Add a subtitle or list in a smaller font (40-50 pt). This can be a brief description like 'Perfect for weeknights' or 'Step-by-step guide'. Ensure it complements the headline.
- 5Apply brand colors — Use your brand colors for text overlays, shapes, or borders. Click on elements to change their color. Consistency helps build recognition. Avoid using more than 3 colors.
- 6Add your logo — Upload your logo and place it in a corner, scaled down to about 10% of the canvas. This helps with brand recall but doesn't distract.
- 7Optimize text contrast — If your image is busy, add a semi-transparent overlay or a solid color box behind the text to ensure readability. Use the 'Position' tool to layer elements.
- 8Export and upload — Click 'Share' and download as PNG (best quality). Then upload to Pinterest with a keyword-rich description and a link to your blog post. Use a tool like Tailwind to schedule pins.

Jonas writes about technology and digital privacy, translating complex concepts into clear, actionable advice for everyday users. He focuses on practical steps to protect personal data without being paranoid.